Visual Designer – Scenario Deep Dive
You can create a Scenario design flow in the Visual Designer as part of creating an Information Governance flow. You can use shapes to create the Scenario design flow by adding Roles and Tasks with Start, End and Decision Points. You must have a Category selected to complete this task. Before you proceed with this task, you must first add a Process.
To create a Scenario design flow in the Visual Designer:
-
In the Process Designer, click the Visual Designer icon (
 ) on one of your Scenario cards.
 -
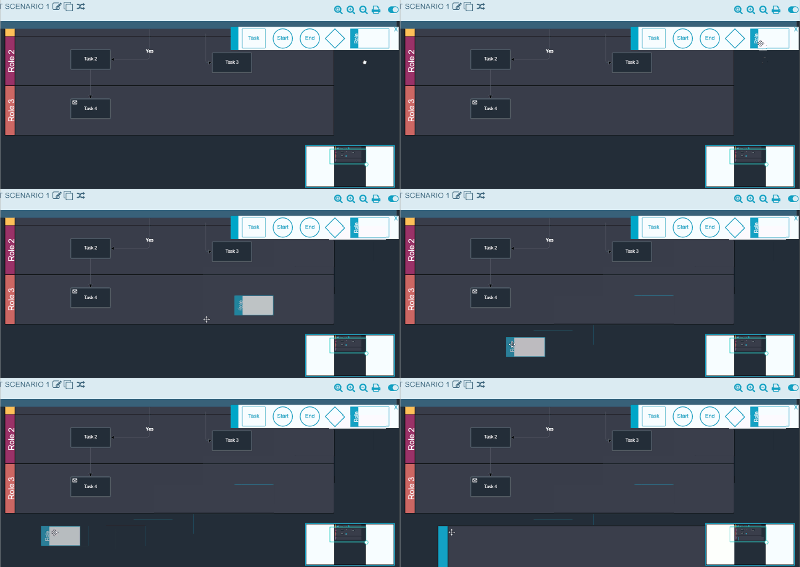
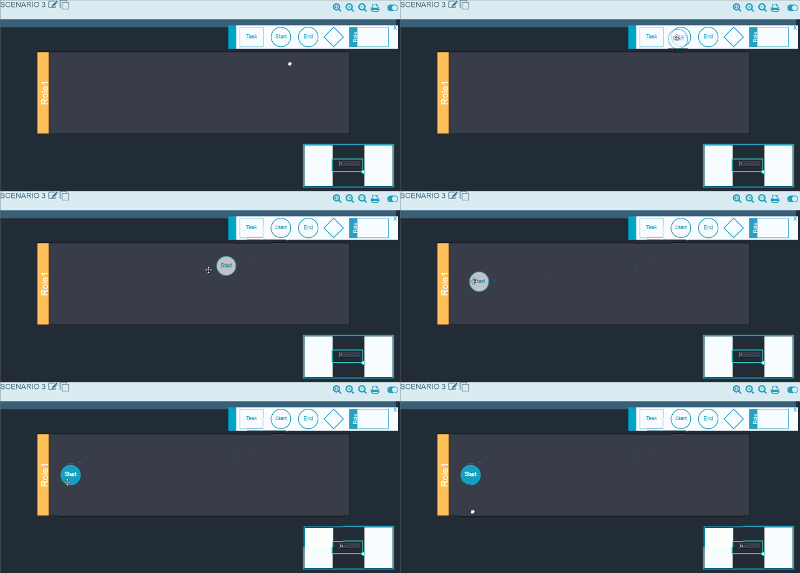
Click and drag a Role shape to add it to the workspace.

NOTE: Roles are unique to Scenarios; they are used to group Task flows. You can use Start Points, End Points, Decisions Points and Tasks within a Role.
- Enter a Name for the role.
-
Select the Role Type. Values are:
-
Application – Gathers, enters or makes changes to data using pages in the Content WebApp for preparation to send to the system(s) of record.
-
Review – Evaluates and reviews data, either approving or rejecting all changes made within the execution of a request. Data can be viewed but not modified. A role with this role type can also review the tasks of their dependent application roles within a scenario.
-
Post – Posts data to a target system after the roles with Application and Review role types have been completed.
-
External – The role that needs to be documented externally to the system for a particular scenario. For example, a role may require a physical check of a material for color or to have a meeting with the engineer to obtain blue prints for a new part being purchased or manufactured. An external role cannot be completed programmatically but still needs to be tracked.
-
Requestor – The person making the request for a new data object. For example, a buyer requesting a new material, or a sales person who needs a customer added to the system.
-
- Enter a Description for the role.
-
On the Supplementation tab, enter SLA information for the role. (optional)
NOTE: A Service Level Agreement (SLA) establishes a time constraint for completing tasks within a role.
-
Click Add an Owner and select from the drop-down. (optional)
NOTE: The owner is the contact person for the Process.
-
Click Add a Role under Role Dependencies. (optional)
NOTE: This role cannot be started until the dependent roles you select are completed.
-
Click Add a Role under Conflicting Roles. (optional)
NOTE: With conflicting roles, the system does not allow a single user to process the roles within the same request, even if that user has security to both roles.
- On the Documentation tab, to add a link to standard operating procedures for the role, click the plus sign and enter the URL where the documentation is located and Friendly Name for the documentation link, and then click Save. (optional)
- On the Documentation tab, to add a link to additional supporting documentation for the role, click the plus sign and enter the URL where the documentation is located and Friendly Name for the documentation link, and then click Save. (optional)
-
On the Role detail modal, click Save.
NOTE: Repeat the steps to add a role until all required roles are included in the scenario. You can click the Reorder Roles (
 ) icon to order the files in the scenario.
NOTE: Once added to a scenario, you can click the Role header to display the Halo to work with the role options including editing the role in the detail modal, resizing the role shape or deleting the role.

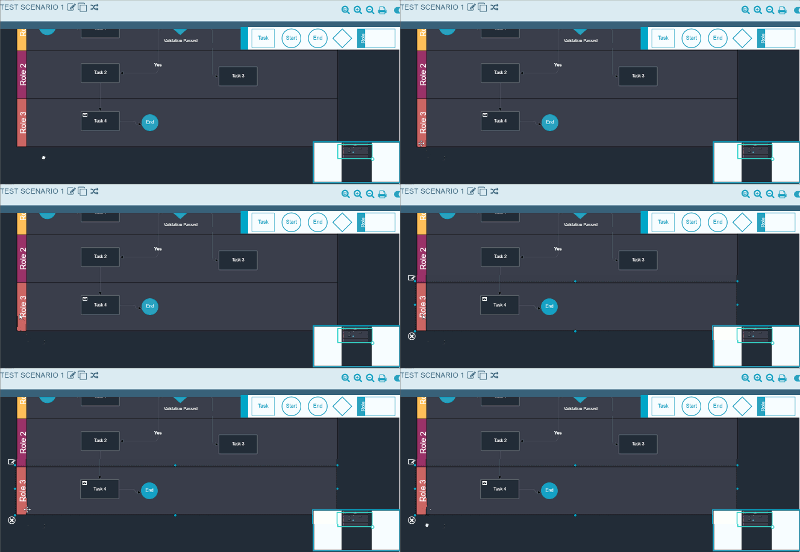
- To add a Task to a Role, click and drag the Task shape onto the Role shape.
- Enter a Name for the task.
-
Do one of the following:
-
Select the Is An Action In dspConduct checkbox if this task is an action in the on-premise dspConduct™ product, and then select a Task Type.
Values Are:
-
Application – Data Entry Task available for Application Roles and Read Only in Review Roles.
-
Review – Editable Data set while in Review Roles (not part of the rejection/comments process).
-
Display – Data set made available for display only.
-
Post – Editable Task used in Post Roles (includes manual posting and post scheduling).
-
Request Page – Activity that occurs on a Request page (Submit, Creation, etc...).
-
Messaging – Activity used to document a notification within the process,
- Validation - Activity used to document where a validation must occur in the process.
-
Finish/Approve - Activity used to document the Finishing or Approving of a Role.
-
Reset/Reject – Activity used to document the rejection process (i.e., Enter Rejection Comments).
-
-
Select an Activity Icon. (optional) Values are:
- Message – This activity consists of a workflow message.
- User – This activity is completed by a user.
-
- On the Documentation tab for the task to add a link to instructions for the task, click the plus sign and enter the URL where the documentation is located and Friendly Name for the documentation link, and then click Save. (optional)
- On the Documentation tab, to add a link to additional supporting documentation for the task, click the plus sign and enter the URL where the documentation is located and Friendly Name for the documentation link, and then click Save. (optional)
-
On the task detail modal, click Save.
NOTE: Repeat the steps to add a task until all required tasks are included in the scenario.
-
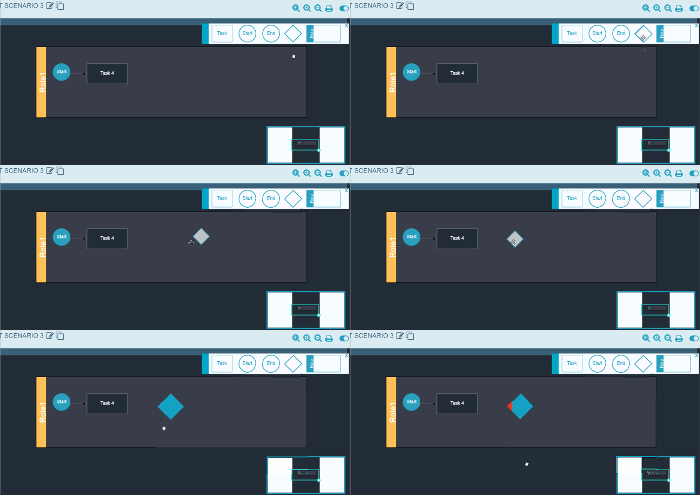
Add Decision Points to your design flow as needed to create branches in the design flow.

NOTE: Scenarios should have one Start Point and at least one End Point. If a Decision Point is used, which results in multiple branches in the design flow, each branch should have an End Point.
-

NOTE: You can navigate between Processes and Scenarios using the breadcrumbs below the workspace.
